Overview #
The WooCommerce Payment Gateways Fees and Discounts plugin allows you to add extra fees or discounts for payment gateways. There may be scenarios where you have to pay monthly/annual fees to accept payments through some gateways. You may want to charge your customers for such types of fees. Also, you may want to provide your customers with a discount for using a preferred payment gateway. The plugin allows you to do exactly that.
Enabling Payment Gateways Icons #
To enable and use the Gateways Fees and Discounts plugin, you should first download and install Booster for WooCommerce.
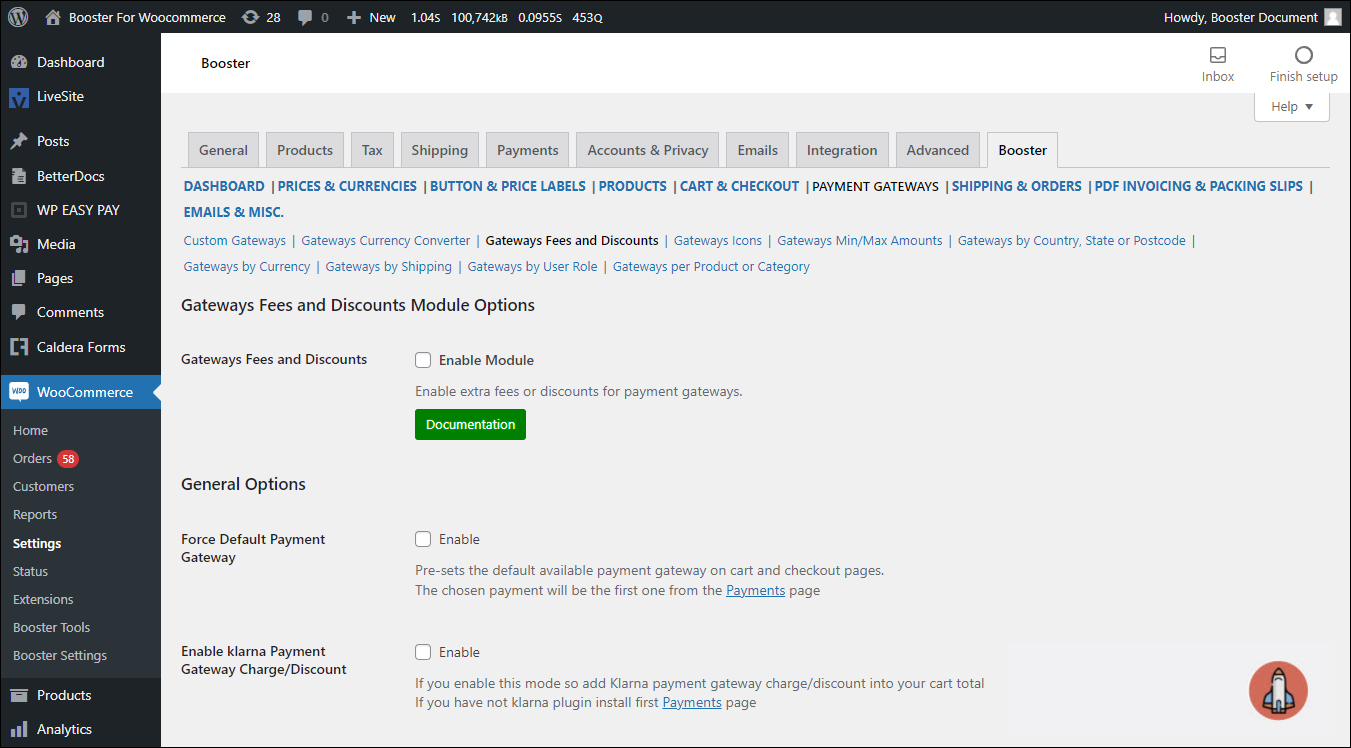
1. Navigate to WordPress Dashboard > WooCommerce > Settings > Booster > PAYMENT GATEWAYS > Gateways Fees and Discounts.
The Gateways Fees and Discounts Module Options page will be displayed.

2. In the Gateways Icons section, check the box for Enable Module field.
3. Scroll down to the end of the page and click Save changes.
The WooCommerce Gateways Fees and Discounts plugin will be enabled for your site.
Configuring Fees and Discounts for Payment Gateways #
You can extra fees or discounts for payment gateways using this option. You can add payment gateways fees or discounts for selected payment methods – for default WooCommerce gateways and custom gateways as well.
1. Navigate to WordPress Dashboard > WooCommerce > Settings > Booster > PAYMENT GATEWAYS > Gateways Fees and Discounts.
The Gateways Fees and Discounts Module Options page will be displayed.
2. If you want to pre-set the default available payment gateway on the cart and checkout pages, check the box for the Force Default Payment Gateway – Enable field.
3. To add the Klarna payment gateway charge/discount to cart totals, check the box for the Enable klarna Payment Gateway Charge/Discount – Enable field.
4. Scroll down for more options.

5. Enter/select required values for the fields. Refer to the table below for field descriptions:
Note: The sections – Direct bank transfers, Cash on Delivery, Check payments, and PayPal – all have the same set of fields. The field descriptions given in the table below are applicable to fields in all the sections.
| Field | Description |
| Fee (or Discount) Title | Title of the fee/discount that you want to charge/offer to your customer |
| Fee (or Discount) Type | Type of fee/discount you want to charge/offer to your customer. The available options are:Fixed – a fixed amount of fee/discountPercent – a percentage of the cart total |
| Fee (or Discount) Value | Amount of fee/discount you want to charge/offer to your customer. For discount, enter a negative number. |
| Minimum Cart Amount | Minimum total cart amount for which the fee/discount is applicable |
| Maximum Cart Amount | Maximum total cart amount for which the fee/discount is applicable |
| Rounding – Enable | Specifies if fee/discount value can be rounded off before adding to the cart total |
| Rounding – Number of decimals | Number of decimal digits the fee/discount value can be rounded off to |
| Taxable – Enable | Specifies if the fee/discount is taxable |
| Taxable – Tax class | Tax class applicable to the fee/discount |
| Exclude Shipping when Calculating Total Cart Amount – Exclude | Specifies if the shipping cost should be excluded when calculating total cart amount. If this field is enabled, the Percent Type fees/discount and Minimum/Maximum Cart Amount options will be affected. |
| Include Taxes | Specifies if the shipping cost should be included when calculating the total cart amount. If this field is enabled, the Percent Type fees/discount and Minimum/Maximum Cart Amount options will be affected. |
| Require Products | If at least one of the products specified in this field is in the customer’s cart, then the fee/discount will be applied. |
| Exclude Products | If any one of the products specified in this field is in the customer’s cart, then the fee/discount will not be applied. |
6. Repeat step 5 for all the other sections.
7. Click Save changes.
The fees/discounts for the payment gateways will be configured.


